Tutorial: How to make your own Lytro DIY Ring Light
The fact that the Lytro LightField Camera doesn’t have a flash basically limits you to shooting in the daylight, or with sufficient artificial lighting. The latter, however, is sometimes hard to achieve, which results in decreased photo quality.
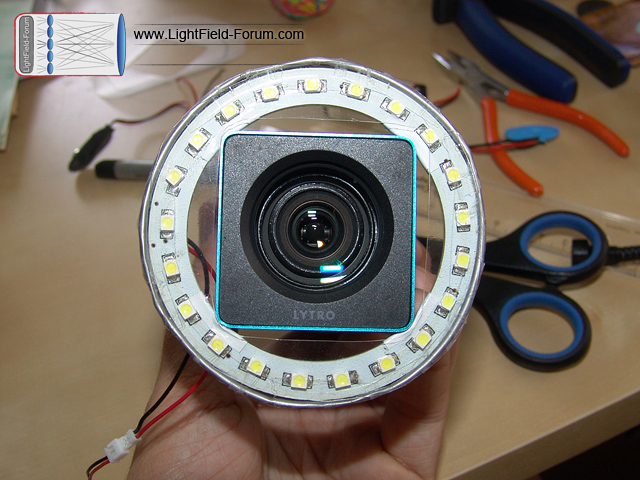
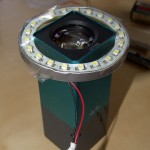
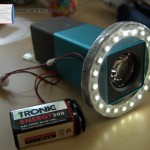
With this little “How to” tutorial, we’d like to show you exactly how we made our own Lytro LED Ring Light for about 8 US-$.
We’ve already tested it in the wild, and it’s working great (for us, at least)!
What you need:
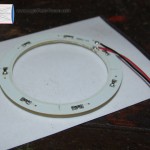
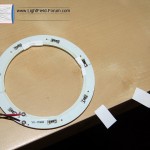
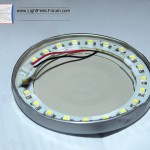
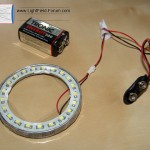
- a 70 mm LED light ring (available here for 4.50 $ incl. shipping).
- either a 9 V (rechargeable) battery + battery connector
or a transformer with 9 to 12 V DC output + fitting connector. - the metal lid of a ~70 mm glass jar
- the lid of a yoghurt cup (or something similar)
- some insulating tape, transparent sticky tape, a drop of hot glue
Before you start, remember that you do all of this at your own risk, and I can not take responsibility if anything goes wrong.
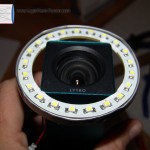
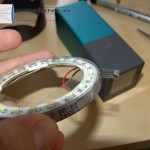
With an inner diameter of 54 mm, the LED ring is just 1 mm smaller than the camera’s diameter.
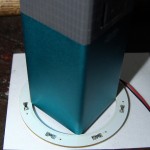
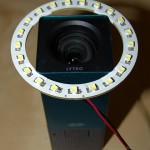
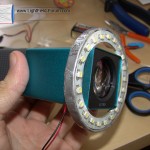
Place your Lytro camera on the ring and mark the positions of the corners. Use a file to remove some material at these four positions, so that you can just slide the ring onto the camera.
Take care not to damage the conducting ring that is close to the edge.
Add thin strips of insulating tape to the filed-out corners. This should help the ring stay in position by reducing any wiggle room, and protect the camera from possible abrasion.
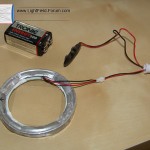
Connect the ring cable to the (battery) connector. Solder the contact points and insulate them with tape.
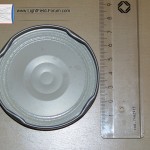
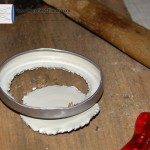
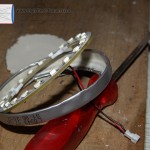
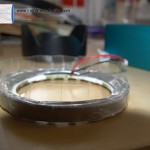
Now take the metal lid of a glass jar and compress the parts that are used for the screwing mechanism. You should now be able to place the LED ring inside. Mark the inner edge of the circle with a permanent marker.
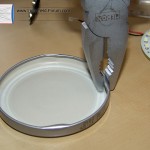
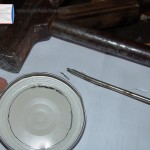
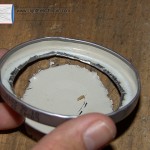
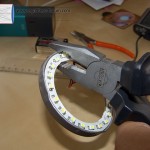
Cut out the circle shape that you just marked. I used an old slot screwdriver and hammer, but i’m sure there are better tools to do this. Bend the sharp edges inwards with pliers and level them. The inner diameter of this casing should be a little bigger than the LED ring’s, so that the whole ring light will be fixated only with the LED ring. This way, you prevent abrasion.
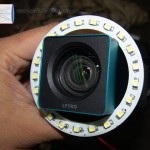
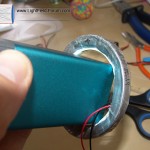
Now, insert the LED ring through the front, with the wires going through the back (once top) of the lid. Using the pliers again, bend the front edges (underside of the lid) inward so that the LED ring gets locked inside the casing. Indent the backside (top) carefully in order to fix the LED ring and casing.
Note: At this point, it’s a good idea to fix the ring’s contact cables with hot glue, or by indenting the lid appropriately. Otherwise, the contact sites aren’t protected from pull/movement, and will break quite easily.
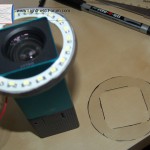
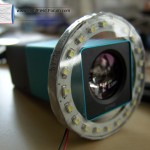
Mount the LED ring with case onto the camera, place the yoghurt lid on top and mark the outer edge of the case, as well as the outer edges of the camera. Cut the resulting circle with a square cut-out (look familiar? ;) ).
Remove the markings with alcohol, and use adhesive tape to secure the plastic layer on four positions along the ring. Make a series of overlapping pieces of adhesive tape (width ~ 10 mm) all around the outer edge to secure the plastic layer. Finally, add a ring of tape around the edge, cut it every 2-3 cm and secure everything to the back.
That’s it! Happy picture-taking!



Recent Comments